RainbowMonster

RainbowMonster

Monday, January 17, 2011

Make-up trend for 2011


1. Bold dark eyebrows

 Celebrities are sporting the thicker and fuller brows.This look would make you look younger than your actual age :)


Get that look

I used Benefit's Brows a-go-go and Mac brow gel in Beguile
  1. Fill in your brows using the darker shade of brown. Apply this in upward strokes.


 2.Using this brow gel is rather tricky since you need to apply just the right amount of liquid on your brows. Apply this in different strokes until you've tamed your eyebrows.

*Mac's brow gel keeps your brows in place all day. It also makes your eyebrow appear fuller.
  
Here's my Dark, Full eyebrows :)


2. Bold Lips 
Bright Red, Red-orange and Fuchsia are the top picks for this year's trend for lipsticks. Wear it either glossy or matte.


Get that look!


Red Orange


Fuchsia


Glossy Finish


 Matte finish
 *Only apply this with light eye make-up, except during shoots or fashion shows :)

3. Neon Eyes
Neon eyes are popular during the 80s' and they are back!

Get that look!

Mac eyeshadow x4 in tempting Eye


Even better when matched with a nude lipsticks
*resolution of the cam is so poor. This color looks even more stunning in person :)

4. The perfect skin 
The No make up look requires a full make up application. This might be trickier than it seems.  It requires a lot of process.


 Get that look!

1. Prime your face

2.  Apply tinted moisturizer, BB cream, cream foundation, liquid foundation. It's up to you.
I used this beauty balm from MAC using my foundation brush
3. Conceal

4. Contour

                                            
 *Contour where necessary. Sides of the cheekbones, corners of the jaw, forehead etc..

5. Highlight

Highlight portions of the face you want to emphasize


 6. Translucent powder all over the face


7. Blush
I used peach blush to give my cheeks a natural glowing color.


8. Apply nude lipstick or balm 
 

9. Mascara+ eyeliner
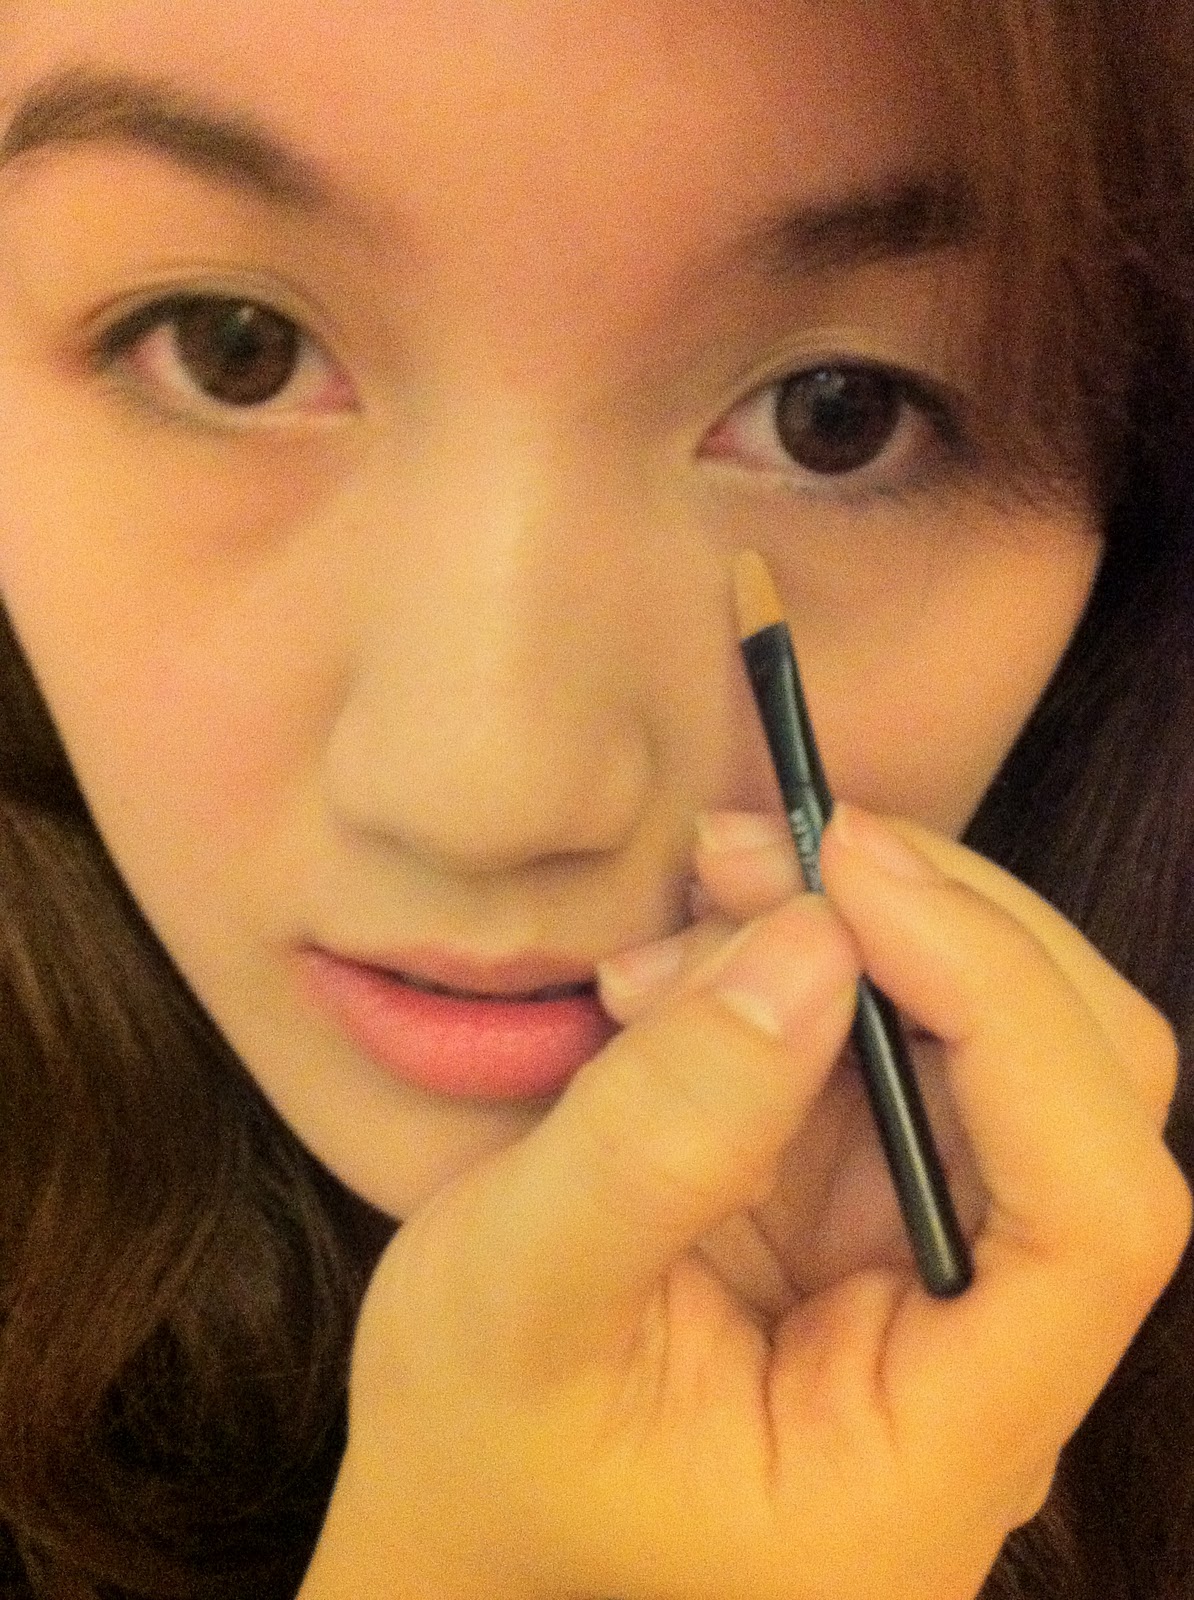
Eyeliner should not be seen, one trick for applying this is to apply it in the waterline of the eyes.


10. DONE! so tired haha


5. Smokey EYES baby!
ok. So i've already posted a topic regarding smokey eyes. It only proves that smokey eyes never goes out of fashion!


Get that look!


 Link to my previous Smokey eye session
http://wizardsofbeauty.blogspot.com/2011/01/smokey-eye-easy-as-pie.html


*Myka*

Friday, January 14, 2011

Get that Glam look with "her name was Glowla"

We've been posting a lot of make ups for High Fashion and Avantgarde Looks and now its time to feature something more simple, something people could wear on a daily basis. so here ill show you a set ive received last Christmas its called HER NAME WAS GLOWLA by BENEFIT. this make up set makes you create a more natural look which is perfect for morning or evening galmour. :) 

**** i dont know why i cant rotate this photo... 


Her Name Was Glowla by Benefit


A must-have kit containing all the party-season essentials you need for creating a luminous complexion. This complete kit will help you achieve an amazingly radiant glow. It features an ultra-flattering CORALista pink cheek powder, Benefit's best-selling High Beam luminescent complexion enhancer, BADgal lash mascara and life on the A list lip gloss.


Step 1 :  Apply the High beam + CORALista Flush 

***apply the highbeam on top of the cheekbones, brow bones, bridge of the nose and then blend for seamless radiance.

*** Then apply the CORALista blush on the apples of your cheeks. 


 From Left to Right : Passion Pearl, Peachy sheen, Terracotta satin, Steamy copper, Deep Bronze.


Step 2 :   Highlight Hues


***Apply Passion pearl to the Brow bone area to highlight. Then sweep Peach Sheen across the eyelids up to the brow bone. 


Step 3  Define and Contour


*** Apply Terracotta Satin across eyelids. To contour, blend Steamy Copper into eye creases, starting at the inner corner of the lids working outwards.


Step 4 : Legendary Liner 


 *** Apply Deep Bronze with a hard angle brush along top and bottom lash line. 


Step 5 : Luscious Lashes 


*** Apply BADgal Lash to top and bottom lashes for lush, voluminous black lashes.

Step 6 :  Passionate Pink Pout 


*** Glide Life on the A list lip gloss over lips for luscious, light pink color.


And here it is ..... 


HAHAHA!  here it is before n after. the before photo really looks stupid but as you can see the after photo has more defined eyes, more contoured eyes and longer lashes :)

Post by : Mon Lim


Tuesday, January 11, 2011

COSMETICS FAIR 2011

PARTICIPATING BRANDS ARE:
Face to Face Make-Up International, MUD, Temptu, Motives, Paul & Joe, SkinFood, Lola Cosmetics, Twilight Beauty, Elite Models' Fashion Make-Up, Legally Vain Vanity Cases

Monday, January 10, 2011

Super Flawless face by Laura Mercier

Today ill be featuring my Laura Mercier flawless face collection. though I am not a fan of Laura Merciers Eye, Lips and Cheek make ups their Face makeups is definitely a MUST TRY!


Laura Mercier pioneered the look of the “Flawless Face,” which uses multiple products to create the look of beautiful skin. So what is the Laura Mercier flawless face?
it consist of the following steps :


Step 1 : Foundation Primer


This is always the first step to flawless skin. The primer bridge between skincare and color.  It creates the perfect,  mistake-free canvas for foundation to glide easily on and stays on for hours.

Application tips : Massage a liberal amount of foundation primer all over the face a few minutes after skin preparation and prior foundation primer.


Step 2 : Foundation

                                      The award winning Laura Mercier Tinted Moisturizer!


* if you are not a fan of thick foundations, but wants to even out your skin tone, try using this tinted moisturizer. this product tend to be very natural looking which if perfect for everyday use. plus it has SPF 20!


Application tips : followed by the foundation primer, apply to the skin and use an outward and downward motion.


Step 3 : Concealer


The Secret camouflage concealer


This Revolutionary, high pigmented camouflage concealer will totally hide under eye circles, discolorations, blemish scars and imperfections.

Application tips : Use a concealer brush to warm and mix the two colors until you find the shade that matches your skin tone.


Step 4 : Setting powder


Here i have 2 Loose Setting powders in translucent and in beige and  a Pressed setting powder


The Setting powder is the key of perfectly blended and long lasting makeup. It contains little or even no pigments, so there will no cakings and discoloration of makeups.


Application tips : Sweep the setting powder onto face with the face brush to blend all pigments together for a flawless finish.


So here is the finish product. less dark circles, more even skin tone and an oil free finish face. :) 


Post by : Mon Lim
For questions feel free to ask at  http://formspring.me/monaypie