RainbowMonster

RainbowMonster
Showing posts with label Make-up application. Show all posts

Thursday, December 8, 2011

The Blue Monster


I was trying to clean my make up station at home and figured out that I haven't even use most of my palettes so I tired them on and made this weird look which I will call The Blue Monster. its a combination of my Urban Decay book of shadows 3 and my coastal scent palette. I made use of colors like blue, sea green, blue green, and etc and mix them all up together then added a little black liner on top of my lids and also used my blue lipstick from sephora.


Here's the palettes, the ones with YELLOW flower stamps are the ones I used for this look. 


<3 Mon

Friday, May 20, 2011

SUMMER SUNSET


Summer is about to end so ive decide to make a look which uses colors from the sunset which are yellow, orange, red, and purple :) 


So here's the palette I used to make this look: 


For the eyes

*First I used the yellow colored eyeshadow on the inner corner of my eyes, spreading them until the middle part of my eyes. 

*Next i used the orange colored shadow which I placed on the middle portion of my eyes. i always blend blend blend the colors to make it look better. 

*I used a pink-red color of shadow on the crease of my eyes blending them until the end of my eyes. remember to not use too much red it makes the eyes look weird or looks bleeding. 

*Then I used a puple colored shadow on the outer most corner of my eye and blend it inwards. remember the secret to great eyeshadows is by blending all colors properly. 

*lastly i used the purple shadow to line my lower lash line making it look like a purple eyeliner to emphasize the look. 


so here it is.... 

Posted by: Mon Lim


Monday, February 28, 2011

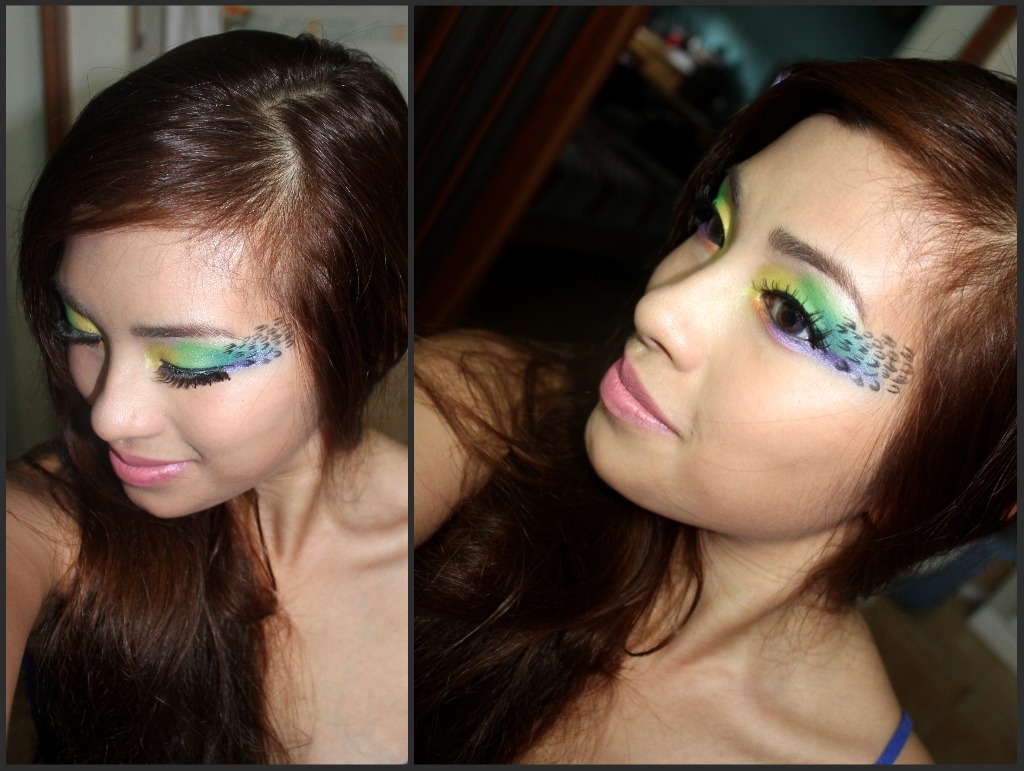
Over The Rainbow

when boredom hits... 


* I pretty much messed up on the BLACK dots? i was suppose to draw something like loepard prints but i screwed up :|


Since I love colorful stuffs i decided to make something like this :) 


What I used : 

 NYX Carribean Shadow Palette
MAC Browgel in Beguile
MAC pro longwear lipcream in Overtime
Benefits Sugarbomb blush
Shu uemura eye liner pen
Dior Show Mascara 


Use a yellow shadow and apply it on the inner corner of the eyes, followed by a green shadow, blue and purple working your way on the outer corner of the eyes. 
Then BLEND to even out the color and make it appear like a rainbow. 
*add some false lashes too. 


view from the top


Close up look


I was not satisfied with the plain colorful eyes so i decided to use my Black liner pen to draw something on the outer corner of my eye. I didn't really like how it looked after. :| here it is... 


Posted by Mon Lim 


                                 ask anything related to my posts at http://formspring.me/monaypie


Sunday, January 23, 2011

The Cat's Eye. MEOW!


Did you know that an Eyeliner can make even the smallest eye look bigger? The correct application is the key to make this look good on you.  so here ill show some tips on how to do this look. :)


To make this look all you need to have is an eyeliner , a gel liner and a liner brush. well you can also use a liquid liner, whichever you prefer. ill also be using false lashes to enhance the look.


Here are the steps : 


1. Start drawing a thin layer of Gel liner on the lids. 

2. Make the lids thicker and extend the eyeliner beyond the eyes both at the outer edge and the inner edge.


3. Do the WING!! When you get to the end of the lashes, go slightly upward. Remember, the more drama you want, the more distinct the angle should be.

4. Using a thicker brush, apply a little black shadow on top of the gel liner to prevent the make up from creasing.


5. Apply Black pencil liner on the lower lash line to define the eyes. 

6. Using the Liner brush connect the lower liner to the wing on the outer edge of the eyes. this gives an illusion that your eyes are bigger. 

7. Apply False lashes (optional). if you are not comfortable on wearing one, just use a mascara.

SO here it is .... the finish product


Monday, January 10, 2011

Super Flawless face by Laura Mercier

Today ill be featuring my Laura Mercier flawless face collection. though I am not a fan of Laura Merciers Eye, Lips and Cheek make ups their Face makeups is definitely a MUST TRY!


Laura Mercier pioneered the look of the “Flawless Face,” which uses multiple products to create the look of beautiful skin. So what is the Laura Mercier flawless face?
it consist of the following steps :


Step 1 : Foundation Primer


This is always the first step to flawless skin. The primer bridge between skincare and color.  It creates the perfect,  mistake-free canvas for foundation to glide easily on and stays on for hours.

Application tips : Massage a liberal amount of foundation primer all over the face a few minutes after skin preparation and prior foundation primer.


Step 2 : Foundation

                                      The award winning Laura Mercier Tinted Moisturizer!


* if you are not a fan of thick foundations, but wants to even out your skin tone, try using this tinted moisturizer. this product tend to be very natural looking which if perfect for everyday use. plus it has SPF 20!


Application tips : followed by the foundation primer, apply to the skin and use an outward and downward motion.


Step 3 : Concealer


The Secret camouflage concealer


This Revolutionary, high pigmented camouflage concealer will totally hide under eye circles, discolorations, blemish scars and imperfections.

Application tips : Use a concealer brush to warm and mix the two colors until you find the shade that matches your skin tone.


Step 4 : Setting powder


Here i have 2 Loose Setting powders in translucent and in beige and  a Pressed setting powder


The Setting powder is the key of perfectly blended and long lasting makeup. It contains little or even no pigments, so there will no cakings and discoloration of makeups.


Application tips : Sweep the setting powder onto face with the face brush to blend all pigments together for a flawless finish.


So here is the finish product. less dark circles, more even skin tone and an oil free finish face. :) 


Post by : Mon Lim
For questions feel free to ask at  http://formspring.me/monaypie


Saturday, December 18, 2010

2 LOOKS 1 MAKEUP

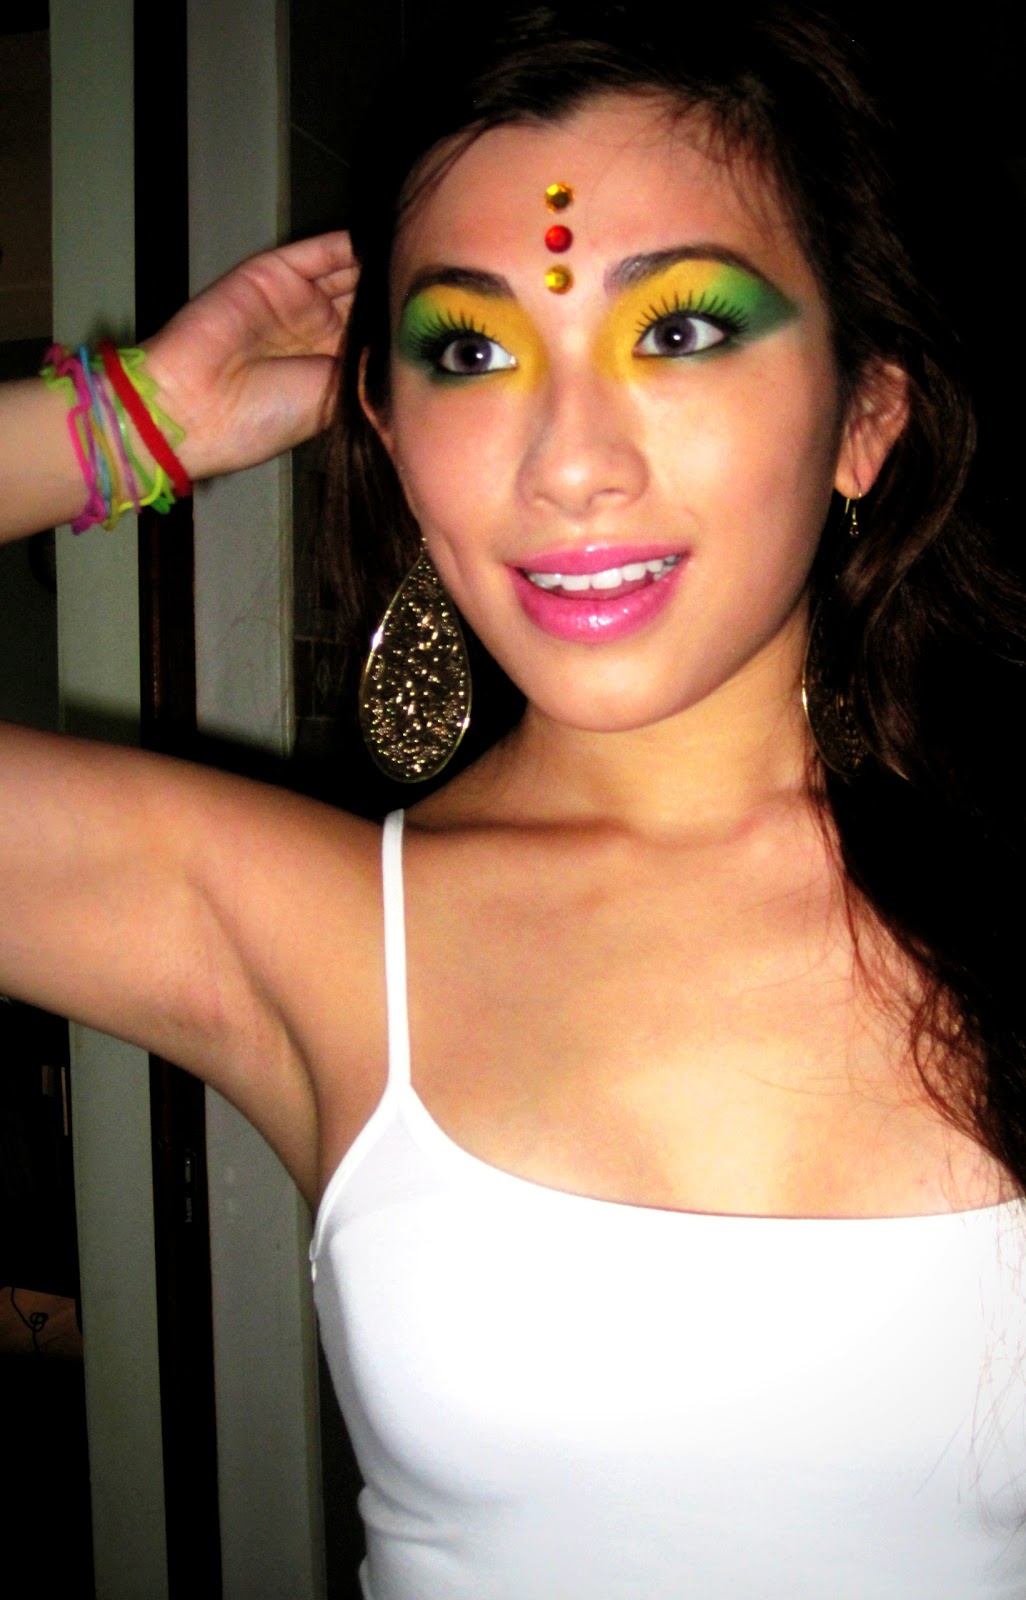
Another Lazy day made me experiment on my face again. i wanted to use Christmas colors like yellow green and red. unfortunately i didn't use my red shadow. haha. below you'll see that i made 2 looks but using the same eye make up. haha the first look is the bollywood look HAHA. 2nd ones for Christmas. :) 


So here ill share the make up that i used for my eyes :) 


before putting any shadows I always put an eyeshadow primer. shadow primers will make your shadows appear more vivid with less fading and creasing plus it stays on for hours. so below is the Urban Decay Potion Primer. well for me this is the best primer. lol 


Now I first used the NYX yellow funk for the inner corner of my eye.


the next thing is i used a lime green shade from the NYX make up artist palette collection and blend it with the yellow. then used the darkest green to shade the crease area. :)


Sorry for the update! i know some are requesting me to post a blog for starters. yes i will update soon! :) 

by : Mon Lim 


Wednesday, November 24, 2010

LETS GET CRAZY OVER GLITTERS

So today i found some glitter palettes and glitter liners on my drawer then i tried to play with it. dealing with glitter make ups is quite hard because it tends to scatter around the face. :| so here it goes.

So here you see about 3 colors of glitters thats Purple, Blue and black. ill show you what i used to make this look :) 

Monday, November 15, 2010

COVERING THE ENTIRE EYEBROWS TO ACHIEVE THE 1920s-1930s LOOK

Hey hey hey! today ill be sharing to you how to remove the entire eyebrows and draw an entire new brows to achieve a certain look. The 1920's is referred to the term FLAPPER which means the new breed of young women who wore short skirts and bobbed hair. The brows needs major plucking to get rich of as much hair as possible or use a wax and cover the whole brow and draw a thin line that curved downward towards the temple. 


 So this is my model from miss daisy. we just ask people from them and experiment their faces hihi! :)  you can see that her brows are quite thick so i have to use a little more wax than usual.